


 |
| Stainless Steel Polishing |
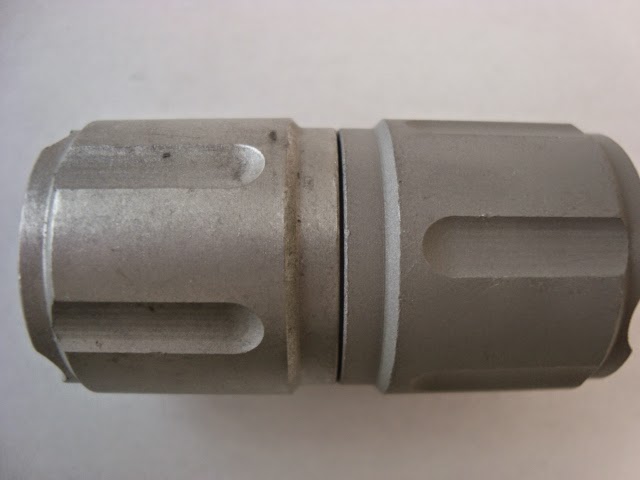
The part on the left is the 'raw' part ready for deburring and polishing. The first step is to deburr and round the edges. This was accomplished using a KM general purpose Ceramic Media. This was a wet process using a solution of Kramco 1010 General Purpose Compound. The result at this point (not pictured) was a matte, tumbled finish with rounded edges.
The second step needed to get the pictured polish (on the right) involved tumbling with a Precision Ceramic Sphere and a solution of Kramco 2020 Burnishing Compound. Generally, a rounder media will produce a smoother finish than an angular media.
This part could be further polished with other tumbling media or hand buffed to a near-mirror finish.